DRAUGHTPROOFING DOORS & WINDOWS

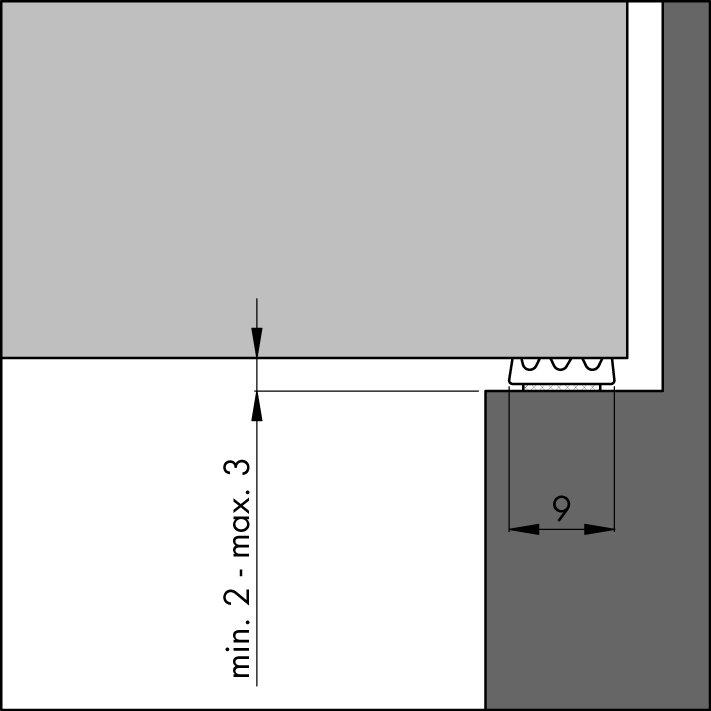
The self-adhesive weatherstrip is suitable for sealing small gaps (2 - 3 mm) around wooden windows and doors. The weatherstrip can also be used on steel interior door frames.
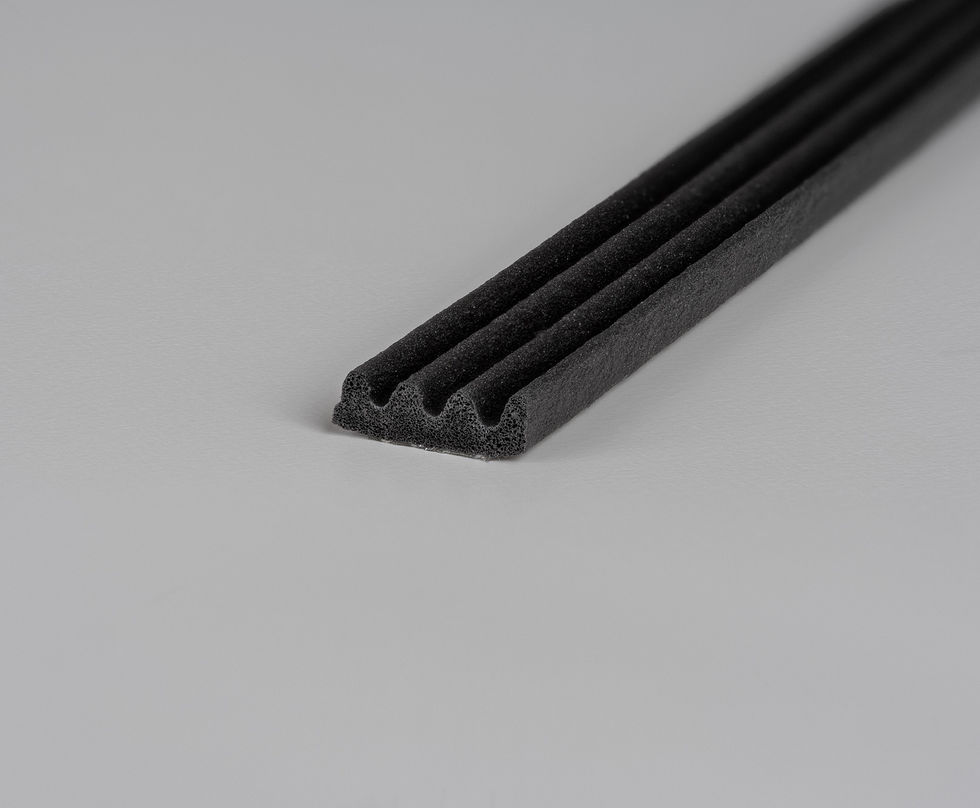
The product is made of high quality foamed plastic (K-model), provides a very good seal and keeps draughts and cold outside the door or window.
Available in white, black and brown.
Description
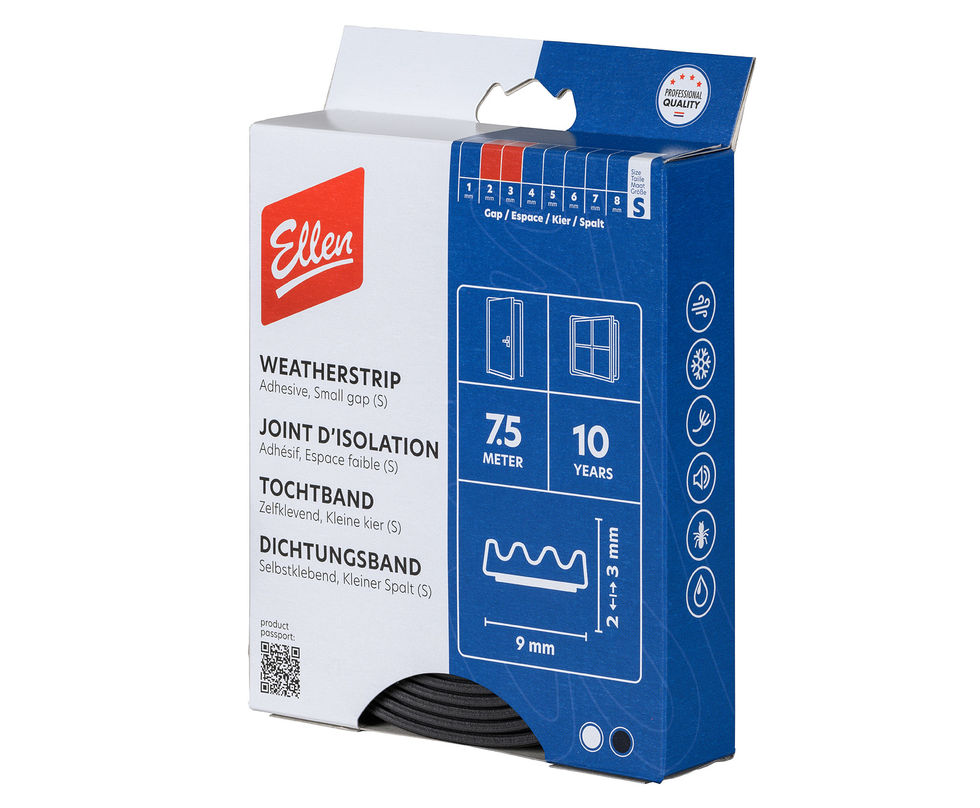
- Weatherstrip for Small gaps
- Self-adhesive
- Foamed plastic (EPDM)
- For doors and windows
- Also suitable for steel constructions
- Available in black, white and brown
- Note: there are 2 strands of weatherstripr attached to each other, you need to pull them apart before installing them
Technical details
- Gap coverage 2 - 3 mm
Specifications
The weatherstrip is easy to trim or cut to size
| LENGTH | ART.NR | COLOUR |
EAN (PC.) | UNIT |
| 7,5 m | 600101050 | White | 8711286850105 | 8 pc. |
| 7,5 m | 600104050 | Black | 8711286850709 | 8 pc. |
|
7,5 m |
600102050 | Brown | 8711286850501 | 8 pc. |
|
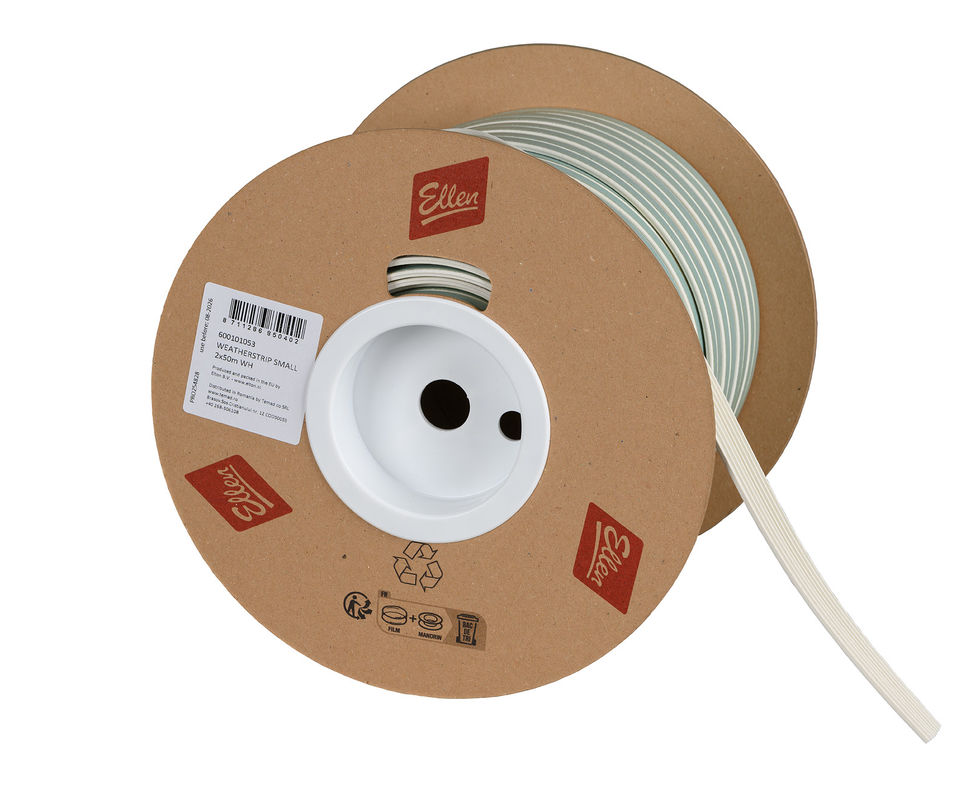
2 x 50 m |
600101515.1 | White | 8711286350247 | 1 roll |
|
2 x 50 m |
600104515.1 | Black | 8711286352012 | 1 roll |
|
2 x 50 m |
600102515.1 | Brown | 8711286351244 | 1 roll |
Note: It is possible to purchase the product individually at your local hardware store or home improvement center.
Installation advice
Attach the self-adhesive weatherstrip correctly and keep the draught out. Read the supplied assembly instructions, watch the assembly instruction video and follow the step-by-step plan.
Prepare the necessary materials in advance:
- Cloth and degreaser
- Tape measure
- Pencil
- Scissors and/or Stanley knife
Step-by-step guide: installing self-adhesive weatherstrip Small gap
- Measure the frame to determine the length of the weatherstrip
- Mark the correct length on the weatherstrip
- Cut to size
- Clean and degrease the frame thoroughly
- Remove the beginning of the protective layer of the self-adhesive tape
- Attach the weatherstrip to the frame from top to bottom and press firmly
Note: On the hinge side of the frame, do not attach the draught excluder to the rebate, but to the wide part of the frame!
Related products


