DRAUGHT AND SOUNDPROOFING DOORS

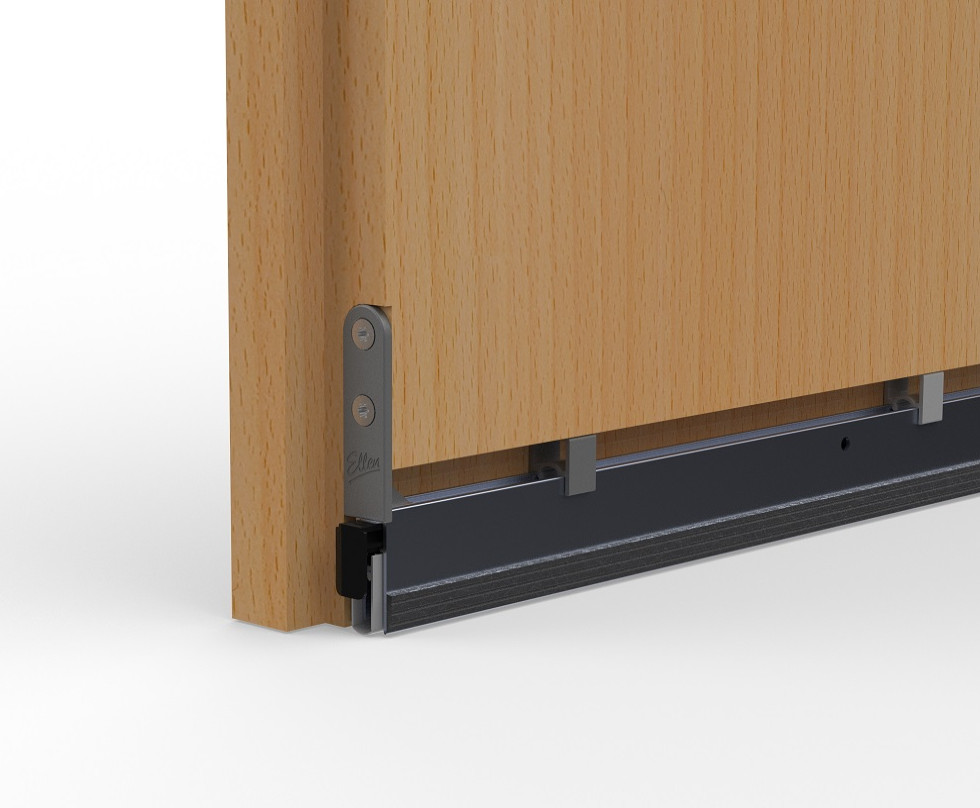
With the adapter set for the EllenMatic Slim Soundproof, it is easy to make a substitute for the EllenMatic Super (groove size 47x13.5mm) and Special 2 (groove size 40x13.5mm) in no time.
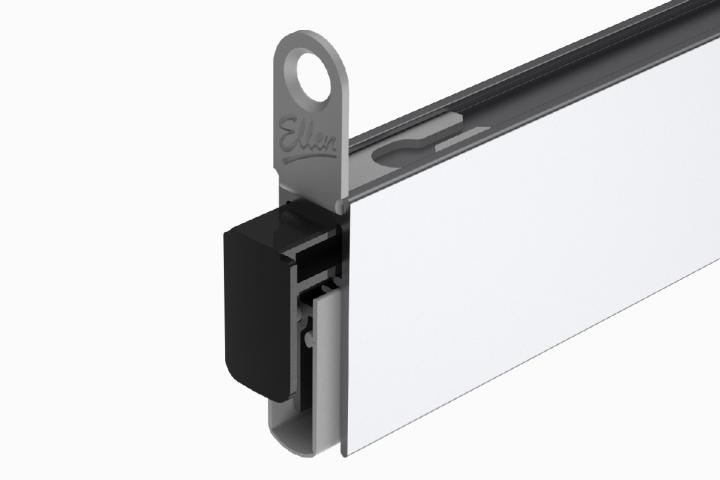
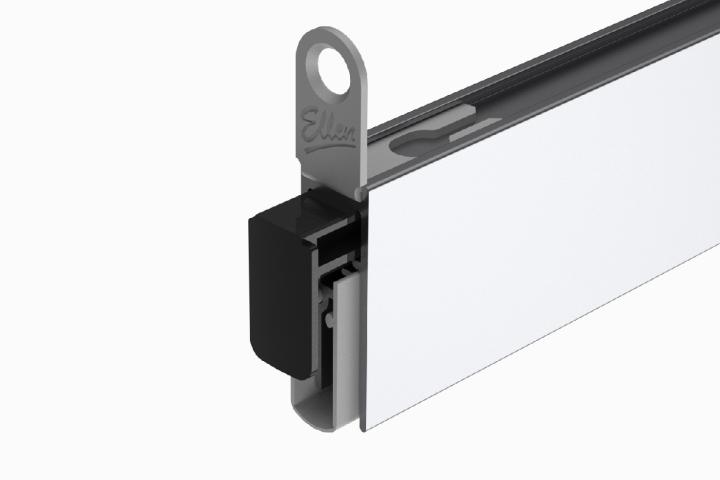
The screw holes of the mounting plates are positioned in such a way that they fit exactly over the existing screw holes. The whole provides a visually neat finish on the side of the door.
Contents of the adapter set:
- 5 spacers
- 2 mounting plates made of glass fibre reinforced material
- 5 Dynaplus universal flat head screws
- Filling tape
Description
- Adapter kit for EllenMatic Slim Soundproof
- Substitute for EllenMatic Super (groove size 47x13.5mm) and Special 2 (groove size 40x13.5mm)
- Mounting by means of mounting plates
- Application: wooden interior doors
- Note: the adapter kit can only be combined with the EllenMatic Slim Soundproof!
Technical details
- 5 spacers to fill the groove height
- Dynaplus flat head screws TX-15 3.5x25 with beautiful AR coating
- 4 screws required, 1 spare supplied
- Filling tape can be applied to the side of EllenMatic Slim Soundproof > filling excess groove width
Specificaties adapter kit
| ART.NR | EAN (PC.) | UNIT | DIMENSIONS |
| 203800000 | 8711286268443 | 1 pc. | 24x16x3 cm |
Montage advies
Draught and noise can easily be stopped by correctly combining the adapter kit with the EllenMatic Slim Soundproof. Read the supplied installation instructions and follow the step-by-step plan.
Prepare the necessary materials in advance:
- Tape measure or folding rule
- Pencil
- Hacksaw
- File
- Drill with Torx T15 bit
Step-by-step guide: installing the Adapter kit for EllenMatic Slim Soundproof
- Remove the old drop seal
- Make a recess for the new mounting plates, if they are not already present
- Cut the drop seal to size. See the supplied assembly instructions for this
- Place the spacers on the top of the EllenMatic Slim Soundproof
Note: Ensure a balanced distribution, the 2 outer spacers must be placed at a maximum of 5 cm from the ends! - Place a strip of filler tape on the side of the drop seal to fill the groove width (if necessary, use the second strip on the other side if there is too much space between the drop seal and the groove width)
- Place the Slim Soundproof with adapter kit in the groove > this is easiest when the door is horizontal. Is the door still hanging on the hinges? > then the sill can be slid in sideways. The sill can be tilted up with a chisel until the bottom is level with the bottom of the door. Screw the sill in place using the supplied mounting plates and screws

