DRAUGHT AND SOUNDPROOFING DOORS

With the EllenMatic Ferro-S 2 draughts and noise are eliminated quickly. The drop seal automatically drops down when you close the door, completely sealing the gap under the door.
Suitable for steel and aluminium doors with a maximum gap of 18 mm.
Description
- Aluminium housing
- Flexible silicone seal with chamber for extra insulation values
- Automatic sealing
- Draught-proof and soundproof
- Soundproof 42 dB
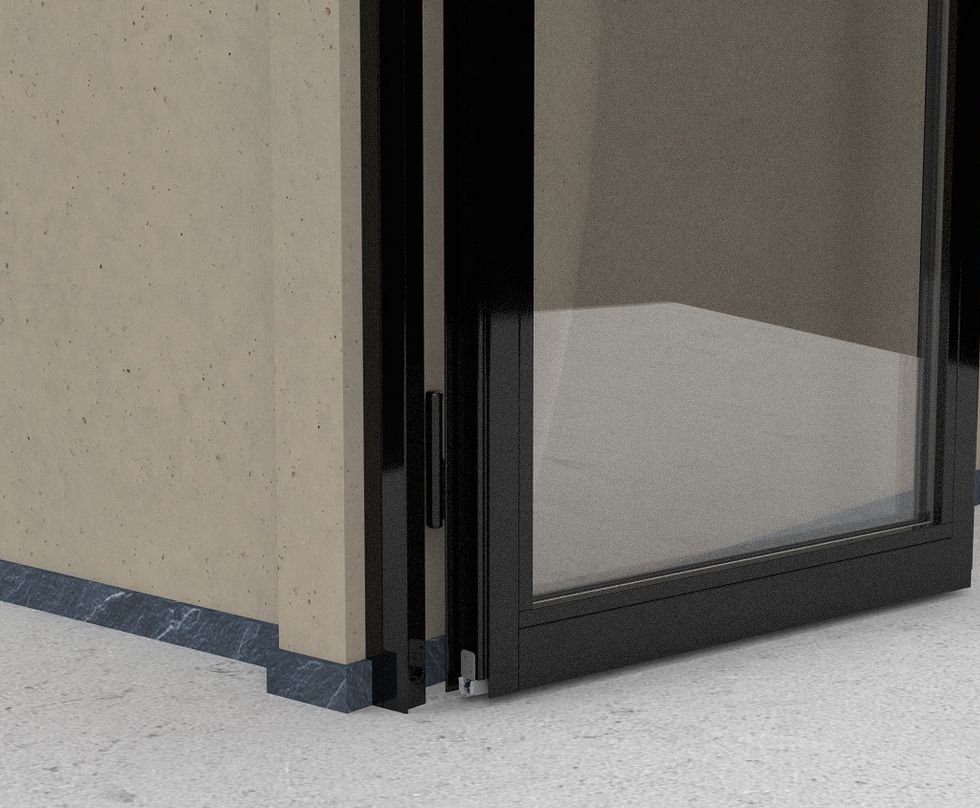
- Application: steel and aluminium doors
- Can be cut to size
- Note: screws (ø 3,5 x 20 mm) NOT included
Technical details
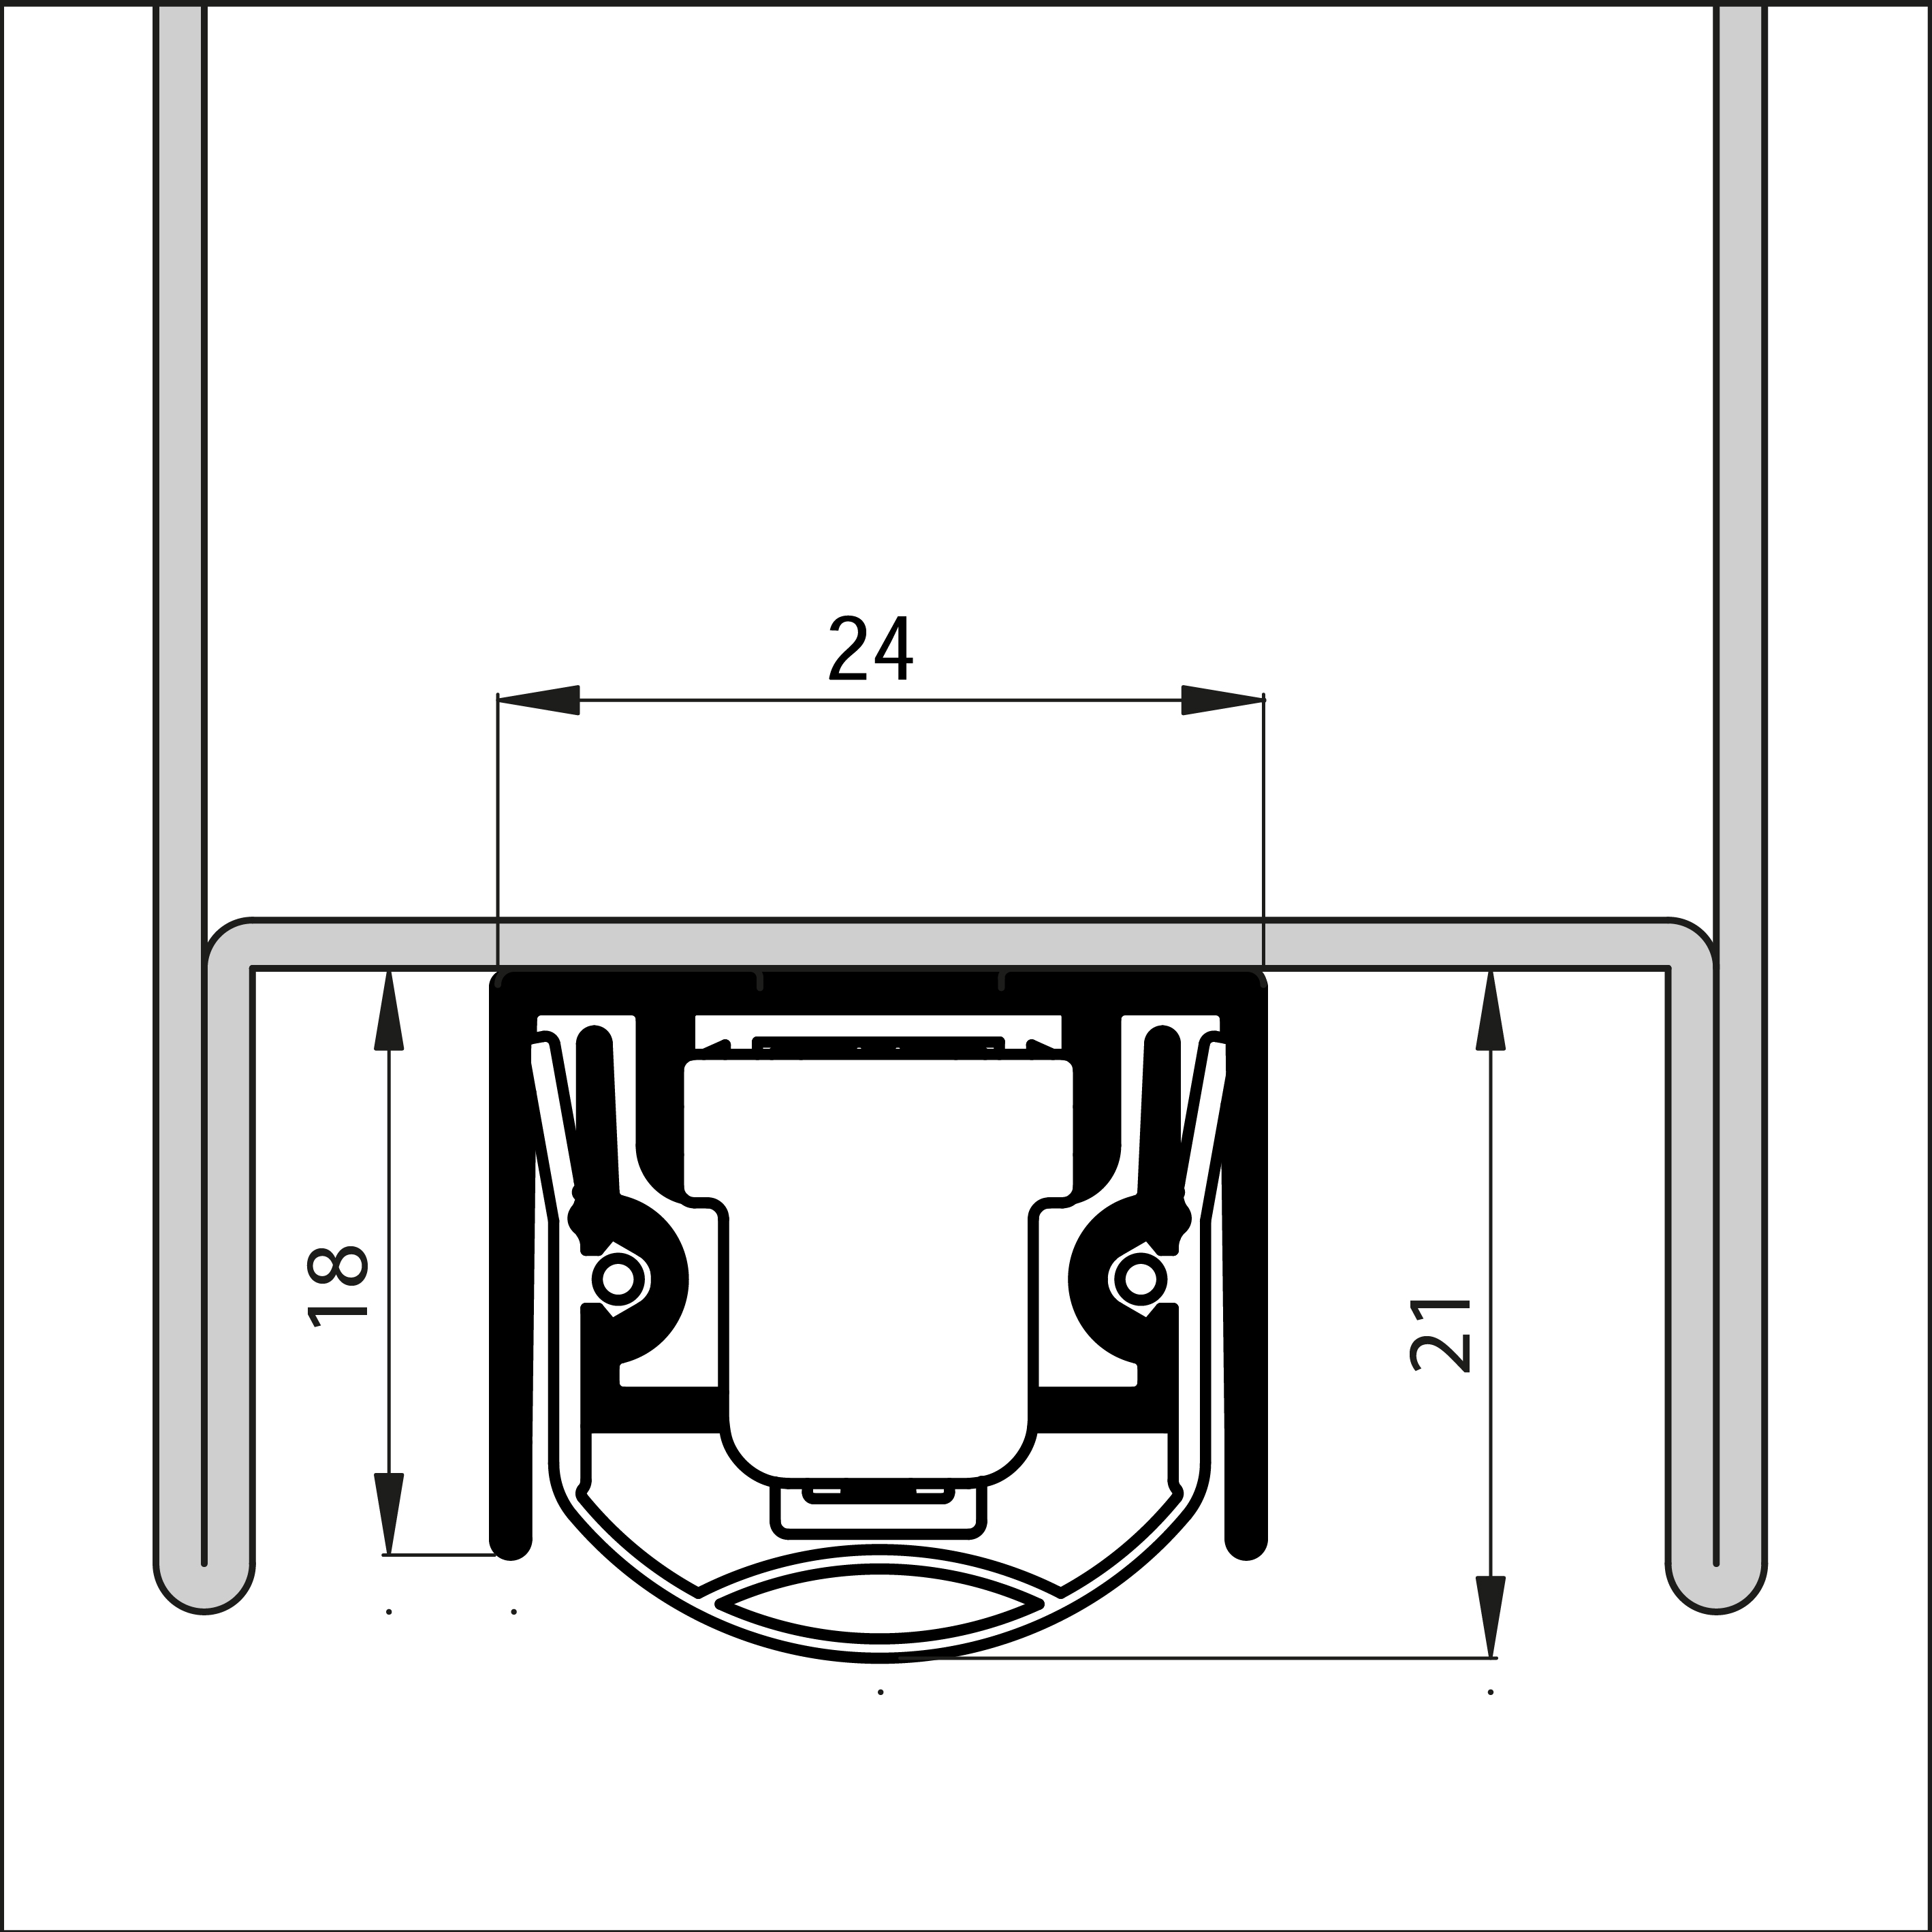
- Max gap: 18 mm
- Groove size: 18 x 24 mm
- Standard lengths can be shortened by 150 mm, except for the 530 mm (can be shortened by 50 mm)
- Fixation by using suspension plates
Specifications drop seal
All lengths can be cut to size (see technical details).
| LENGTH | ART.NR | EAN (PC.) | UNIT |
| 530 mm | 203100530 | 8711286268672 | 10 pc. |
| 680 mm | 203100680 | 8711286268689 | 10 pc. |
| 830 mm | 203100830 | 8711286268696 | 10 pc. |
| 980 mm | 203100980 | 8711286268801 | 10 pc. |
| 1130 mm | 203101130 | 8711286268818 | 10 pc. |
| 1280 mm | 203101280 | 8711286268825 | 10 pc. |
Note: It is possible to purchase the product individually at your local hardware store or home improvement center.
Installation advice
Draught, noise and smoke can easily be stopped by correctly installing the drop seal. Read the supplied installation instructions, watch the video and follow the step-by-step plan.
Prepare the necessary materials in advance:
- Tape measure or folding rule
- Pencil
- Hacksaw
- File
- Drill with Philips bit
Step-by-step guide: installing EllenMatic Ferro-S 2
- Measure the groove dimensions in the door to ensure that the drop seal fits in the groove
- Then measure the width of the door to determine the length of the drop seal
- Remove the mounting plates and activator button
- Pull the seal back towards the activator button side
- Mark the correct length on the drop seal
Note: shorten on the non-activator button side! - Cut the drop seal to size
- File off any burrs that may have formed on the aluminium
- Slide the seal back. Ensure that there is enough seal protruding edge on each side for optimum sealing of the corners
- Cut off the excess seal
- Slide the drop seal into the groove and secure with the mounting plates
- Slide the activator button into the opening until it clicks into place
- Adjust the drop seal until the desired sealing is achieved
- Test the sealing using a piece of paper > the paper must be secure, but must not tear
Related products

